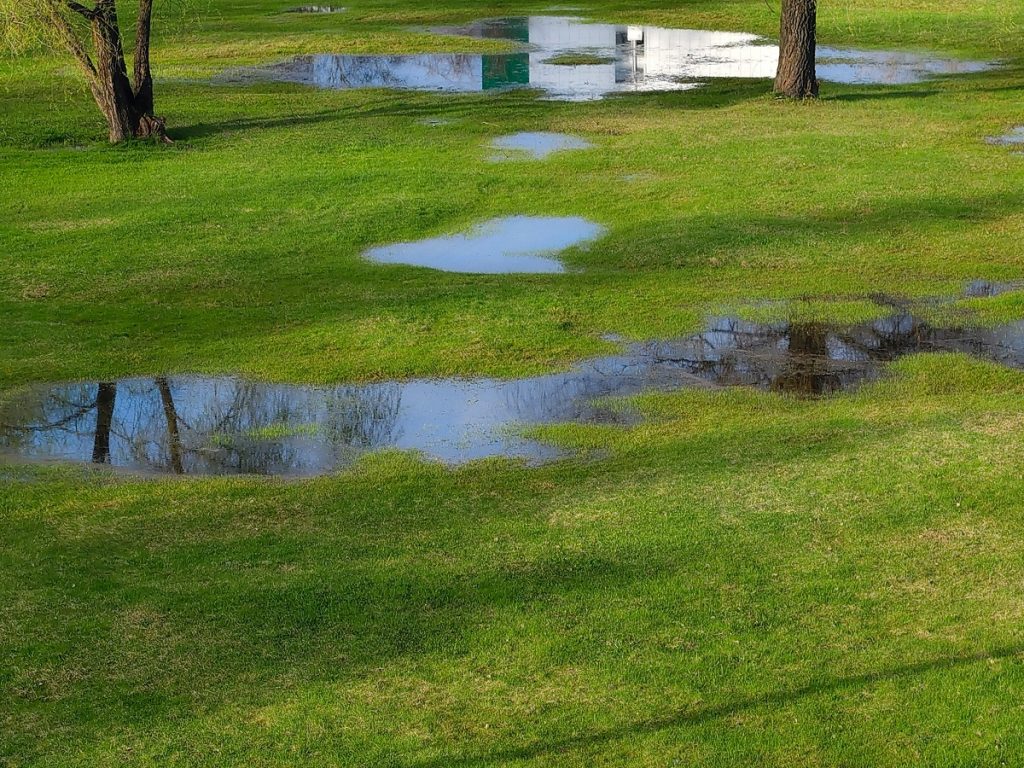

Highlights:
-
Identify the root cause first: Underground decay, soil settlement, heavy traffic, and poor water flow cause sunken areas—fixing the surface without addressing the origin leads to recurring dips.
-
Use a balanced soil blend: The ideal filler mix consists of builder’s sand, topsoil, and organic compost to ensure stability, grass growth, and proper drainage without over-compacting.
-
Match the repair method to the depth: Shallow dips (under an inch) can be topdressed directly over existing grass, while deeper depressions require lifting the sod or completely filling and reseeding the spot.
-
Address water flow and compaction: Redirecting downspouts, installing proper runoff channels, and regular core aeration prevent future soil erosion and sinking.
-
Vary lawn maintenance habits: Rotating mower patterns and promptly addressing burrowing pests helps maintain an even grade over time.
-
Know when to call professionals: Major grading issues, sinkholes, leaks, or depressions near your home’s foundation require expert intervention to avoid structural damage.
Uneven lawns are a frustration almost every homeowner faces eventually. A sunken area in the grass might start out as an barely noticeable dip, but over time, it can transform into an eyesore, a tripping hazard, or a swampy pit after heavy rain. Beyond looking unkempt, persistent low spots ruin lawn mower blades, kill healthy turf grass through pooling water, and can even compromise your home’s foundation if they funnel water back toward your house.
Fixing these sunken areas isn’t just about dumping a mound of dirt into the hole and calling it a day. If you do not address the underlying causes or if you use the wrong materials, the depression will inevitably return. Getting a smooth, level, and vibrant green lawn requires a systematic approach: understanding why the ground sank, choosing the right soil mixture, leveling the grade, and taking preventative steps to ensure the soil stays flat for years to come.
What Causes Low Spots to Form in Your Yard?
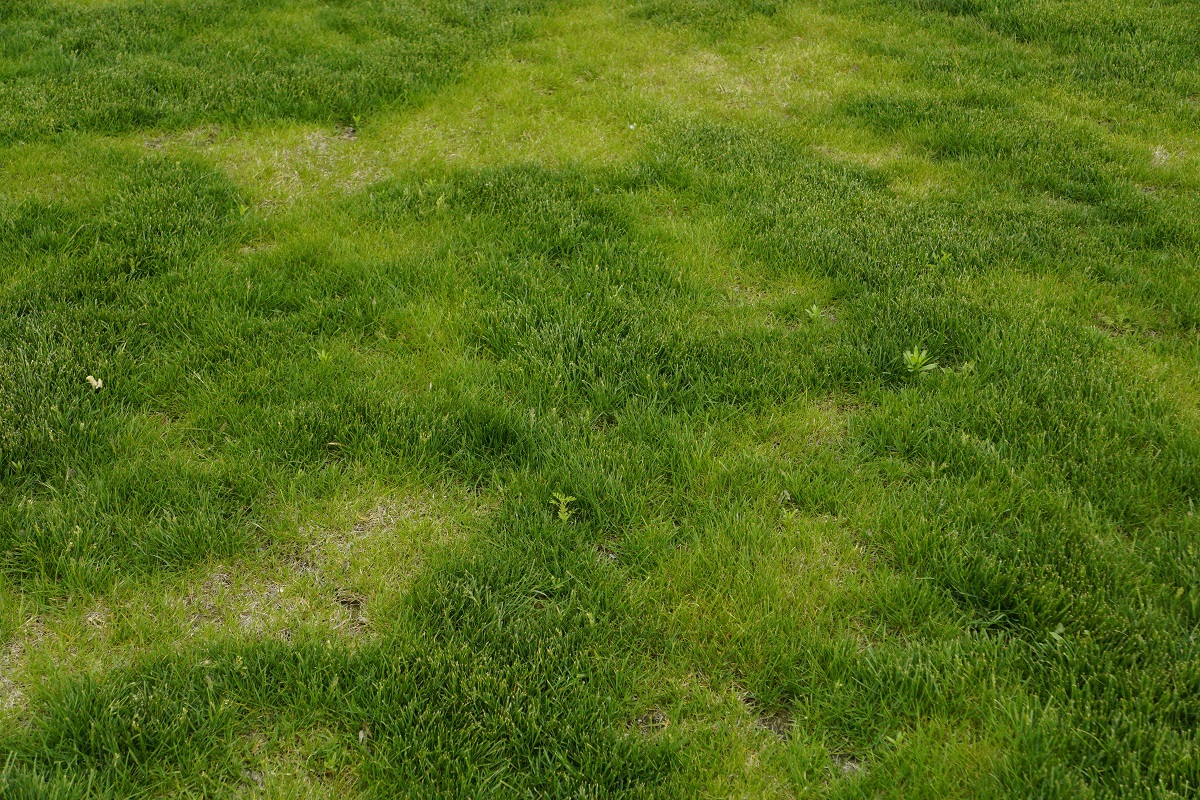
Before picking up a shovel, you need to identify why the ground sank in the first place. Patching a hole without understanding its origin is a temporary fix. Dirt sinks because the structure beneath it has collapsed, shifted, or eroded away.
Decaying Underground Material
One of the most common causes of mysterious sunken spots in suburban yards is decaying organic debris left buried beneath the surface. When homes are constructed, builders often bury tree stumps, construction debris, roots, or trash deep in the ground. Over five to fifteen years, this organic matter rots away completely, leaving empty voids. The topsoil eventually caves into these pockets, creating noticeable depressions.
Erosion and Poor Surface Drainage
Water is a relentless force. If your yard lacks a proper slope or if your downspouts pour large volumes of water onto unprotected soil, water will wash away dirt over time. This continuous flow carves out low channels and pockets, gradually eroding the lawn structure from above and beneath the sod.
Subsurface Soil Settlement
When utility lines, water pipes, or internet cables are installed, workers dig trenches that disturb the natural compaction of the earth. Even if they backfill the trench carefully, loose soil naturally settles over time, especially after heavy rains or winter freeze-thaw cycles. The result is a long, narrow depression tracking right across your yard.
Heavy Traffic and Soil Compaction
Frequent weight placed on specific areas of the yard compresses the air pockets in the soil, causing it to sink. Common culprits include parking vehicles on the grass, repeatedly driving riding lawnmowers along the exact same path, high foot traffic, or pets running along fence lines.
Animal Burrowing
Pests like moles, voles, gophers, and ground squirrels dig extensive network tunnels underground. As these tunnels collapse under the weight of foot traffic or lawn equipment, the surface sinks, creating uneven, bumpy lawn conditions.
Gathering the Necessary Tools and Materials
Having the right tools ready beforehand makes the task much simpler and yields far better results. Leveling a yard requires a balance of soil components to ensure proper drainage while allowing grass roots to grow strong.
Required Equipment
-
Square-nosed and rounded shovels: A square shovel works best for cutting sod, while a round shovel is ideal for digging and mixing soil.
-
Lawn leveling rake or landscape rake: Essential for spreading topdressing evenly across existing grass.
-
Hand tamper or roller: Used to settle loose dirt without over-compacting it.
-
Wheelbarrow: For mixing and transporting topdressing material around the yard.
-
Garden hose or sprinkler: Needed to settle the soil layers and jumpstart grass growth.
-
Trowel and utility knife: Useful for delicate cutting around sod patches.
Choosing the Best Topdressing Mixture
Never use pure clay, sand alone, or pure topsoil to fill in low spots. The ideal leveling mixture is a blended topdressing mix.
-
Sand: Course builder’s sand provides structure, promotes drainage, and prevents the mixture from compacting into a rock-hard layer.
-
Topsoil: High-quality, screened topsoil gives the mix body and substance.
-
Compost: Well-rotted organic compost feeds the grass roots and retains just enough moisture to keep new seeds or existing turf healthy.
The standard ratio for a custom leveling mix is 50% builder’s sand, 40% topsoil, and 10% fine compost. Adjust this slightly depending on your soil type; clay-heavy lawns benefit from slightly more sand, while sandy yards thrive with a bit more organic compost.
How to Fix Shallow Low Spots (1 Inch Deep or Less)
Shallow depressions are the easiest to handle because you do not need to tear up the existing turf. You can fix these spots through a process called topdressing, which allows the grass to grow through a thin layer of soil.
-
Mow the Area Short: Cut the grass in and around the low spot slightly shorter than usual. This gives you clear visibility of the depression and allows the soil mix to reach the ground level easily.
-
Mix Your Topdressing Material: Combine equal parts builder’s sand and rich topsoil in a wheelbarrow. Mix thoroughly until the consistency is consistent throughout.
-
Apply a Thin Layer: Spread the soil mixture over the low spot using a shovel. Keep the depth of the application to half an inch or less. Applying more than half an inch at once will smother and kill the grass beneath it.
-
Work the Mix Into the Turf: Use a wide landscape rake or a lawn leveling broom to work the dirt down between the grass blades until the tips of the grass are visible above the soil.
-
Water Gently: Lightly spray the area with water using a fine mist nozzle to settle the mixture into the thatch layer. Avoid heavy streams of water, which will wash the sand away.
-
Repeat as Necessary: Wait 30 to 45 days for the grass to grow vigorously through the topdressing layer. Repeat the process in half-inch increments until the spot is flush with the surrounding yard.
How to Fix Deep Low Spots (Greater Than 1 Inch Deep)
Filling a deep hole using the topdressing method takes too many seasons and often smothers the turf. For depressions deeper than an inch, the best strategy is to lift the existing grass or fill and reseed the patch entirely.
The Lift-and-Fill Method (Preserving Existing Turf)
This method works brilliantly if the grass growing inside the low spot is healthy and you want a quick visual fix without waiting for new seeds to germinate.
-
Cut the Sod: Use a sharp square shovel to cut a straight slice down the center of the depression. Make cross-cuts to form an “H” pattern or square tiles over the sunken area. Cut down about 2 to 3 inches deep to ensure you include the root system.
-
Pry Up the Sod Flaps: Carefully slide your shovel flat underneath the root line and peel back the flaps of grass, folding them outward like opening a book. Keep the root mass intact as much as possible.
-
Fill the Void: Fill the exposed pit beneath the sod with your sand, topsoil, and compost mix. Fill it slightly higher than the surrounding lawn line—about 1/2 inch higher—to account for natural settling.
-
Tamp the Base Lightly: Step on the added soil or use a hand tamper to lightly compact the material. Do not smash it flat; just remove large air pockets.
-
Fold the Sod Back: Lay the flaps of grass back over the fresh soil. Press them down firmly into place, ensuring the edges mesh tightly with the surrounding lawn without overlapping.
-
Water and Roll: Water the area thoroughly to saturate the fresh soil underneath. Walk over the patch or use a lawn roller to seal the grass roots into the new base layer.
The Fill-and-Reseed Method (For Dead or Badly Damaged Grass)
If the grass inside the low spot is dead, full of weeds, or sparse, there is no point in trying to save it.
-
Remove Old Vegetation: Clear out all weeds, dead grass, and debris from the depression using a shovel.
-
Scarify the Bottom: Stab the bottom of the exposed hole with a garden fork or shovel tip to loosen the hard dirt beneath. This prevents a distinct boundary line that stops water from draining into deeper soil levels.
-
Fill in Layers: Add your soil mixture in 2-inch layers. Tamp down each layer gently before adding the next until the hole is completely level with the surrounding grade.
-
Sow Quality Grass Seed: Scatter a generous amount of grass seed suited to your region (cool-season grass like Kentucky Bluegrass/Fescue for Northern regions, Warm-season like Bermuda/Zoysia for Southern regions) over the smooth top layer.
-
Rake and Mulch: Lightly rake the seed into the top 1/4 inch of soil. Cover the spot with a thin layer of weed-free wheat straw or peat moss to retain moisture and keep birds away.
-
Water Daily: Keep the top layer continuously moist until the new grass seed germinates and establishes a strong root system (typically 14–21 days).
Preventing Low Spots From Returning
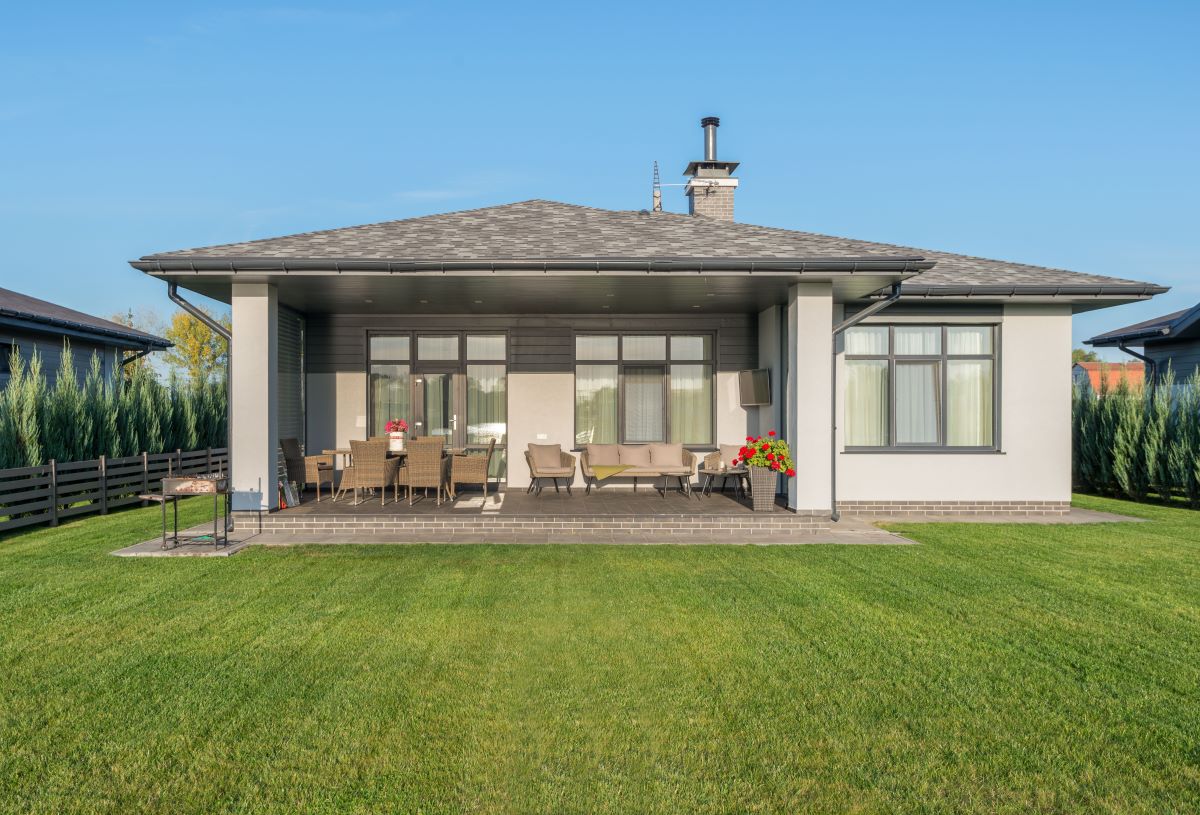
Filling the hole is only half the battle. If you do not change the conditions that created the depression, you will find yourself fixing the exact same spot next season. Long-term lawn stability requires smart maintenance and active runoff management.
Fix Drainage Issues First
Water accumulation is the primary cause of sinking lawns. If your low spot collects water after every storm, you must redirect that water flow away from the area. Installing French drains, catch basins, swales, or pop-up emitters helps redirect water away from weak soil zones. Incorporating long-term home drainage and water mitigation solutions prevents underground saturation that weakens soil structure, protecting your lawn grade over time.
Redirect Roof Downspouts
Roof runoff delivers hundreds of gallons of water directly to concentrated spots around your yard during a single storm. Ensure downspout extensions carry water at least 4 to 6 feet away from your foundation and drop it onto stable, well-vegetated, or sloped areas rather than letting it pool on flat grass.
Address Soil Compaction Regularly
Compacted soil is prone to sinkage because it loses its natural bounce and structure. Core aerate your lawn at least once every spring or fall. Aeration removes small plugs of soil, relieving pressure, opening up air pathways, and allowing water to penetrate deeply into the earth rather than washing over the surface and creating erosion channels.
Vary Lawn Mowing Routes
Driving a heavy riding mower over the same pattern every single week compresses the ground along the tire tracks. Rotate your mowing path every week—mow diagonally, horizontally, and vertically across the yard to distribute weight evenly and prevent deep ruts from forming.
Eliminate Burrowing Pests Promptly
Take action at the first sign of moles, voles, or gophers. Use humane traps, natural repellents, or professional pest control services to clear pests out before their underground tunnels collapse and ruin your smooth lawn.
Low Spot Repair Strategy Comparison
| Repair Method | Depth of Low Spot | Best Used For | Primary Advantage | Expected Recovery Time |
| Topdressing | Less than 1 inch | Healthy grass with minor settling | No sod cutting required; minimal effort | 1 to 2 months |
| Lift-and-Fill | 1 to 3 inches | Deep depressions with healthy surface turf | Instant grass cover; seamless look | 2 to 3 weeks |
| Fill-and-Reseed | Greater than 1 inch | Bare soil, dead grass, or deeply eroded pits | Rebuilds soil foundation completely | 1 to 2 seasons |
When to Call a Professional
While fixing a few shallow dips in your yard is a satisfying weekend DIY project, certain lawn leveling issues demand professional intervention. Attempting to fix massive grading problems without proper equipment can lead to expensive home repairs later.
-
Foundation-Adjacent Low Spots: If the ground is sloping or sinking inward toward your home’s foundation walls, hire a professional landscaper or excavator immediately. Incorrect grading near the house can lead to basement flooding and structural damage.
-
Widespread Yard Bumps and Hollows: If your entire lawn feels like a roller coaster, spot-repairing low spots will take years. A professional crew can power-rake, grade, and hydroseed or sod the entire property in a matter of days.
-
Undetected Water Leaks: If a specific spot in your yard stays continuously soaked even during dry summer weeks, you may have a main water line or sprinkler system leak underground. A plumber should inspect the lines before you fill the soil.
-
Massive Sinkholes: Any sudden, deep, and steep-walled hole should be inspected by municipal engineers or soil specialists, as it could indicate a failing sewer line, collapsed septic tank, or natural sinkhole formation.
Wrapping It Up
Filling low spots in your yard is essential for maintaining a safe, healthy, and beautiful outdoor space. By identifying the root cause of depressions, choosing the right combination of topdressing materials, and using the appropriate repair method for the depth of the hole, you can successfully level your lawn. More importantly, taking proactive steps to control drainage, relieve soil compaction, and alter maintenance routines will ensure your lawn stays flat and green for seasons to come.